How to Pour Over Coffee: Quick Guide
What is a Pour Over Coffee?
You may have heard coffee aficionados talking about it and asked yourself, “what is pour over coffee“?
In simplest terms, it is a delightful, almost ceremonial way to make coffee that allows you to control every part of the brewing process. Because it can be rather time-intensive (about 3 to 4 minutes for a single cup, and longer if you manually grind the beans), it’s not for everyone. But for the right person and/or in the right setting (no power, at a camp, etc.), it can be a great way to enjoy a hot cup of coffee!

What makes pour over coffee so attractive is the fact that this old manual coffee-making method allows you to truly craft your brew by giving you total control from the grind to your brewing time. You can easily do it yourself and find your best brew, rather than just accepting whatever results your coffee maker gives.
You can control the grounds, the water to coffee ratio, the water temperature, the rate of pour, and thus, the total extraction time. All these factors have direct bearing on how your finished product tastes. And this is a great way to not only expand your coffee palate, but also to experiment with different grinding and extraction techniques to find that magical combination that tickles your taste buds.
Pour Over Coffee Equipment and Accessories
The Essentials:
Additional Accessories:
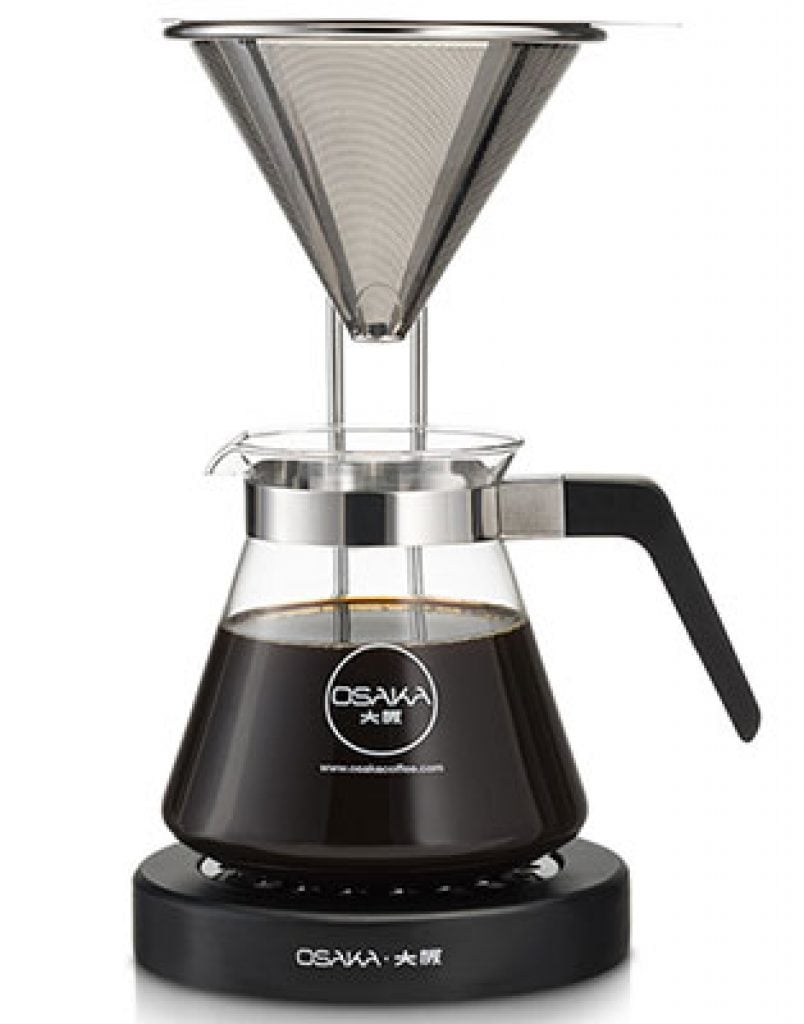
The great thing about making coffee in this manner is that the specialized equipment you’ll need are a pour over coffee filter and a cone-shaped dripper (sometimes called a “filter cone“).

The dripper is a cone-shaped device used to hold the pour over coffee filter during the brewing process. Some can be placed just on top of your regular cup or mug, while others has a carafe or decanter included. Most pour over coffee drippers require the use of a paper or cloth coffee filter, but there are some cone-shaped drippers that are made of extremely fine, stainless steel or metal mesh that can readily serve as the filter and are reusable.
Besides the dripper and the filter, all you need is something to boil water in, a mug to drink from, and some fresh coffee grounds. Armed with these simple things, you can enjoy a steaming cup of your favorite drink just about anywhere!
Helpful Equipment and Accessories
If you’re looking to master the art of pour over coffee making, it’s best to make use of the recommended equipment and additional accessories as listed above. These will be very helpful when experimenting and adjusting your brew.
Here are some reasons why you should invest in them if you’re serious about pour over coffee making:
Pour Over Coffee Pouring Techniques
As mentioned, there are many different kinds of pour over coffee equipment today, and just like any coffee maker, you will need to adjust several variables to find your best cup. Since this is a “pour over“, how you pour hot water to your coffee grounds is just as important as the grind, temperature, ratio and so on.
But before we discuss pouring techniques, let us first explain what the terms, “coffee bloom” or blooming” mean in the pour over coffee world.
What is a Coffee Bloom?
Coffee bloom is the rapid release of carbon dioxide (CO2) when hot water comes in contact with the coffee grounds.
This occurs for the basic reason that we roast our beans. Science explains that when coffee beans (or any organic material for that matter) are roasted or heated, CO2 gets trapped in the beans. Since CO2 is gas, the beans will eventually release the trapped gas over time, a process known as “degassing“. However, when the beans are ground, CO2 is released much more quickly. And so, the moment the hot water hits the bed of ground coffee, all of the remaining gas will escape rapidly. This event is what manual coffee makers call the “bloom”.
The Coffee Blooming Process
Blooming coffee may sound magical, but it’s so easy to do. Just pour a little water around 40-50 ml into your freshly ground coffee, let it sit for 30-45 seconds, and bubble up. Once the coffee has bloomed, you can now execute your pouring technique.
Pulse Pouring vs Continuous Pouring
There are two pouring techniques pour over coffee aficionados use. Both techniques, require you to bloom the coffee first.
Pulse Pouring
Pour parts of the water at several intervals until you reach your desired amount. Experiment on how much water to pour and at what intervals. A typical pulse pour rate is about 70-100 ml of water poured at 3 to 4 intervals.This method gives you a few seconds to pause and allow the coffee to be drawn down before adding more water.
Continuous Pouring
Pour the water in a steady and continuous flow until you reach your desired amount. This takes practice as you’ll need to have the physical ability to keep the hot water flowing at slow and steady spiral, without stopping or hurrying, until all the remaining water is poured.
Total brewing time, including pouring and drawdown time, should be around 2:30 to 4:00 for both techniques. But this is actually where the fun (experimentation) takes place due to the many variables (grind size, pour rate, water temperature, etc..) that affect your brewing process.
How to Pour Over Coffee (Detailed Instructions)
For some people, the quick summary we gave at the beginning is all they need to dive in. Others appreciate instructions with a bit more detail, and that’s what you’ll find in this section.


Final Thoughts on How to Pour Over Coffee
Pour over coffee isn’t for everyone, but if you’re looking for a new avenue of flavor to explore, then it’s an intriguing option and well worth checking out.
With minimal equipment requirements, it won’t take much of an investment to see if it’s something you like, and it has the added advantage of being a decidedly low-tech way to brew coffee, so it’s always good as a standby if the power goes out!